Use a big window
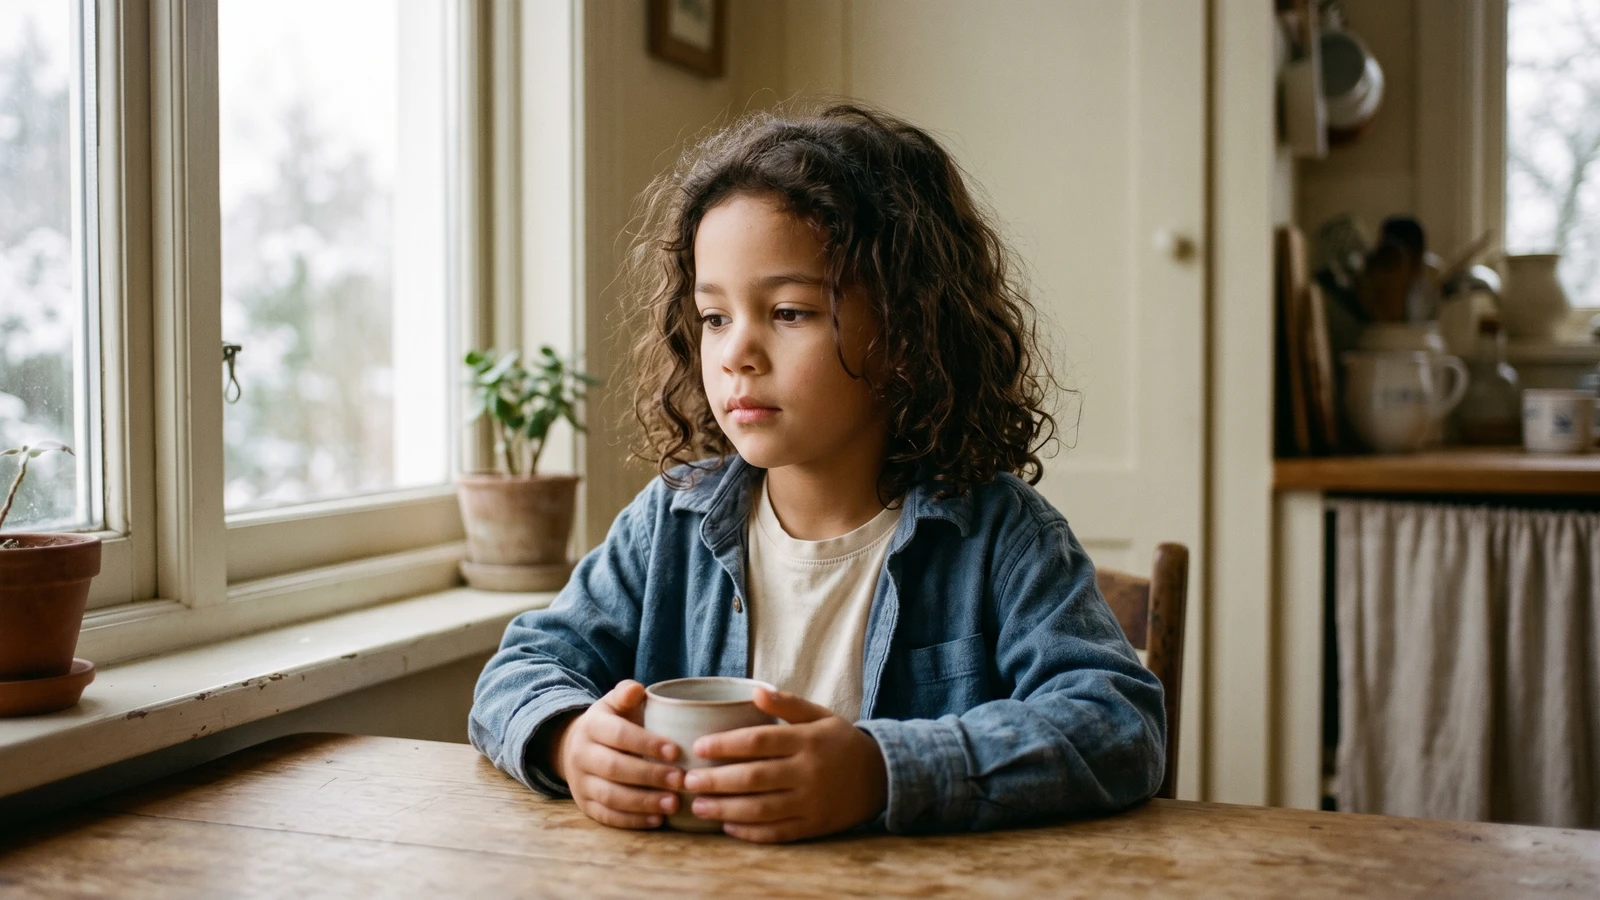
The easiest light source is a large window. Stand your child facing the window, and keep the camera between the child and the window so the light falls evenly on the face.
Avoid direct sun
Direct sunlight creates harsh shadows. If the sun is bright, move a few feet back from the window or use a sheer curtain to soften the light.
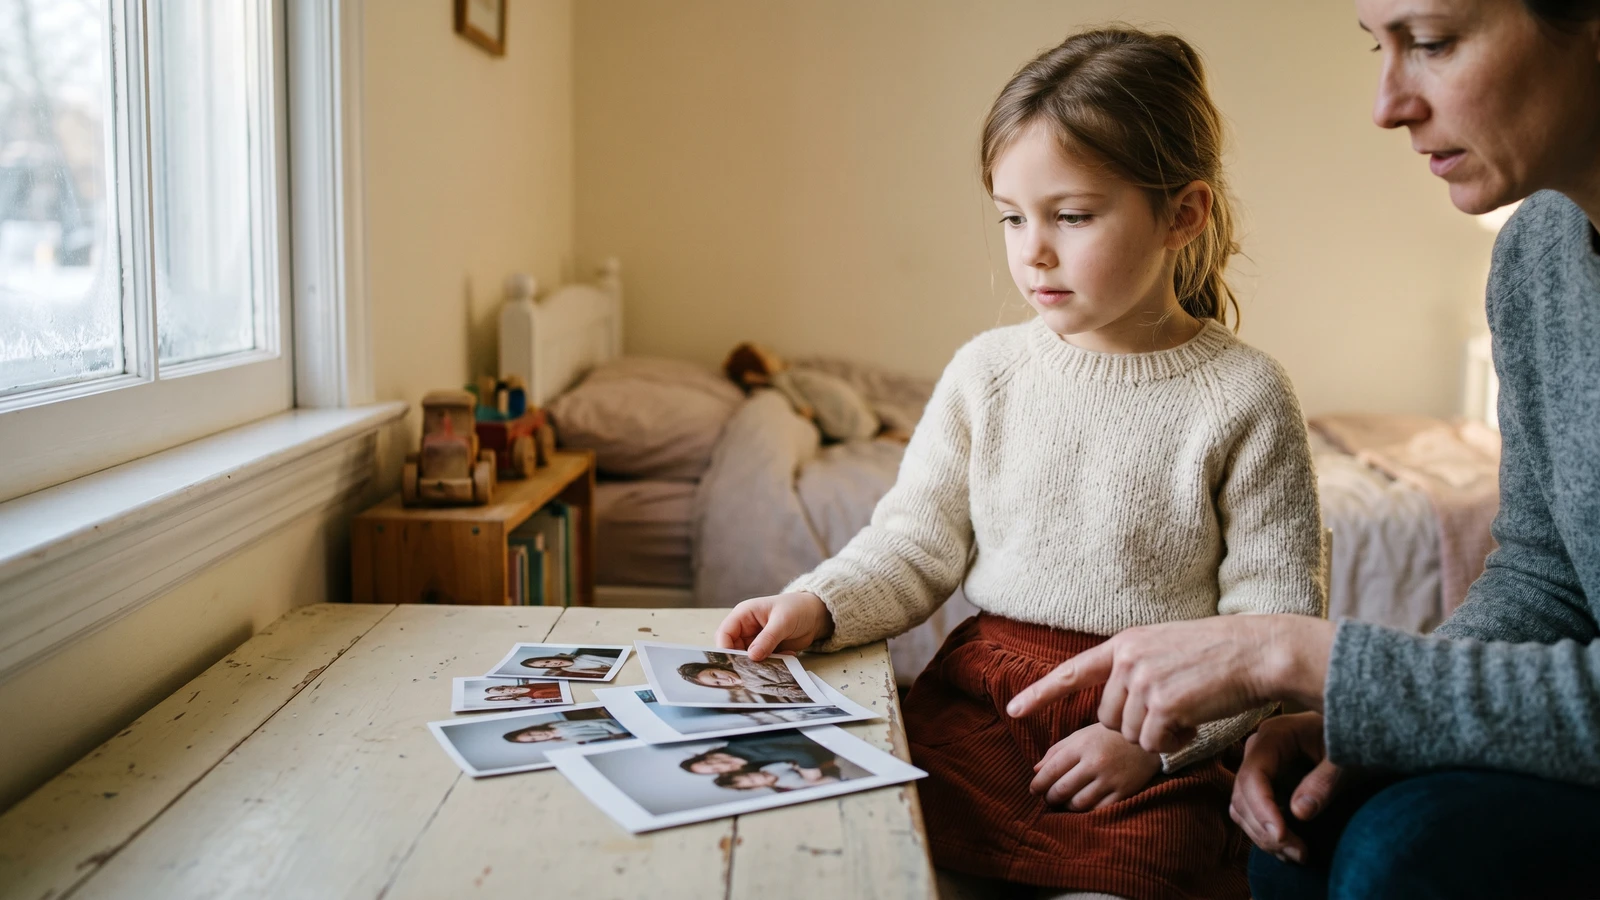
Keep backgrounds simple
A clean background keeps focus on the face. A plain wall or curtain works well.
Eye level always wins
Hold the camera at eye level to avoid unflattering angles and distortion.
Take a few quick variations
Change your distance slightly and try two or three angles. Even small shifts can make a big difference.
Don't want to stage the photo at all? SmilePlease turns one quick phone pic into studio-grade school portraits — lighting, backdrop, and composition already handled.
Keep reading
- How to get a natural smile in kid photos — Lighting gets the skin tone right; expression makes the photo.
- What to wear for school photos — The outfit choices that hold up under any lighting.
- School photo day prep: the complete parent guide — Everything from sleep the night before to the last-minute lint roll.
Research & sources
Why window light and color temperature matter for portraits at home.
Frequently asked questions
What is the easiest lighting setup for kid photos at home?
A large window, mid-morning or early afternoon, on an overcast day. Turn off every other light in the room. Position your child facing the window with the camera between them and the window. This front-lit setup handles 90% of home portrait needs without any extra gear.
Should I use indoor lamps to brighten the room?
No. Mixed light sources (window + lamp) create color casts in skin tone that phones and editing apps struggle to fix. Pick one light — the window — and turn everything else off. If the room feels dim, move your child closer to the window instead.
What time of day has the best light for kid portraits?
Roughly 10 a.m. to 2 p.m. gives the most neutral, even light, especially on overcast days. Late-afternoon golden hour is flattering but introduces warm color casts that are hard to correct. Early morning is fine on south-facing windows but can be too cool/blue on others.
Why do my indoor photos always look orange or yellow?
Indoor tungsten bulbs emit warm orange light (around 2700K) that your camera reads as a color cast on skin. The fix is to turn off indoor lights entirely and shoot near a window during the day. If you have to shoot indoors without window light, use only daylight-balanced LEDs (labeled 5000K or higher) and don't mix them with warmer bulbs.
Do I need a softbox, reflector, or ring light for good kid photos?
No — not for most home portrait needs. A large window on an overcast day acts like an enormous softbox. A reflector can help on sunny days when one side of the face goes into deep shadow, but a white sheet taped to a chair does the same job. Ring lights are optimized for selfies/video, not still portraits.
Why do school photos look different from my home photos even with good light?
School photographers use specific backdrops, standardized distances, and controlled crops that give every portrait the same 'school photo' feel. Lighting is only part of the equation — composition, backdrop, and styling carry equal weight. If you want the school-photo aesthetic from a home photo, services like SmilePlease generate that composition automatically.
Meet the author
SmilePlease Team
Editorial Team
The SmilePlease editorial desk — guides, explainers, and practical content for parents
The SmilePlease editorial team writes the product-adjacent guides, explainers, and how-tos — the kind of content that sits alongside the columnists and fills in the practical gaps: how to prep for picture day, what to wear, how our AI generation pipeline works, what our retention policies mean in practice.